

While every brand and type of bidet will have slightly different specs, the fundamentals are the same. Turn off water. Remove toilet seat. Attach bidet. Replace toilet seat. Turn on water. Take sh*t. Let’s doo this!
Before You Buy Your Bidet
Toilet Check

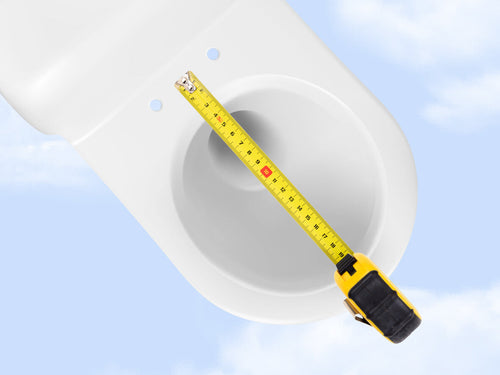
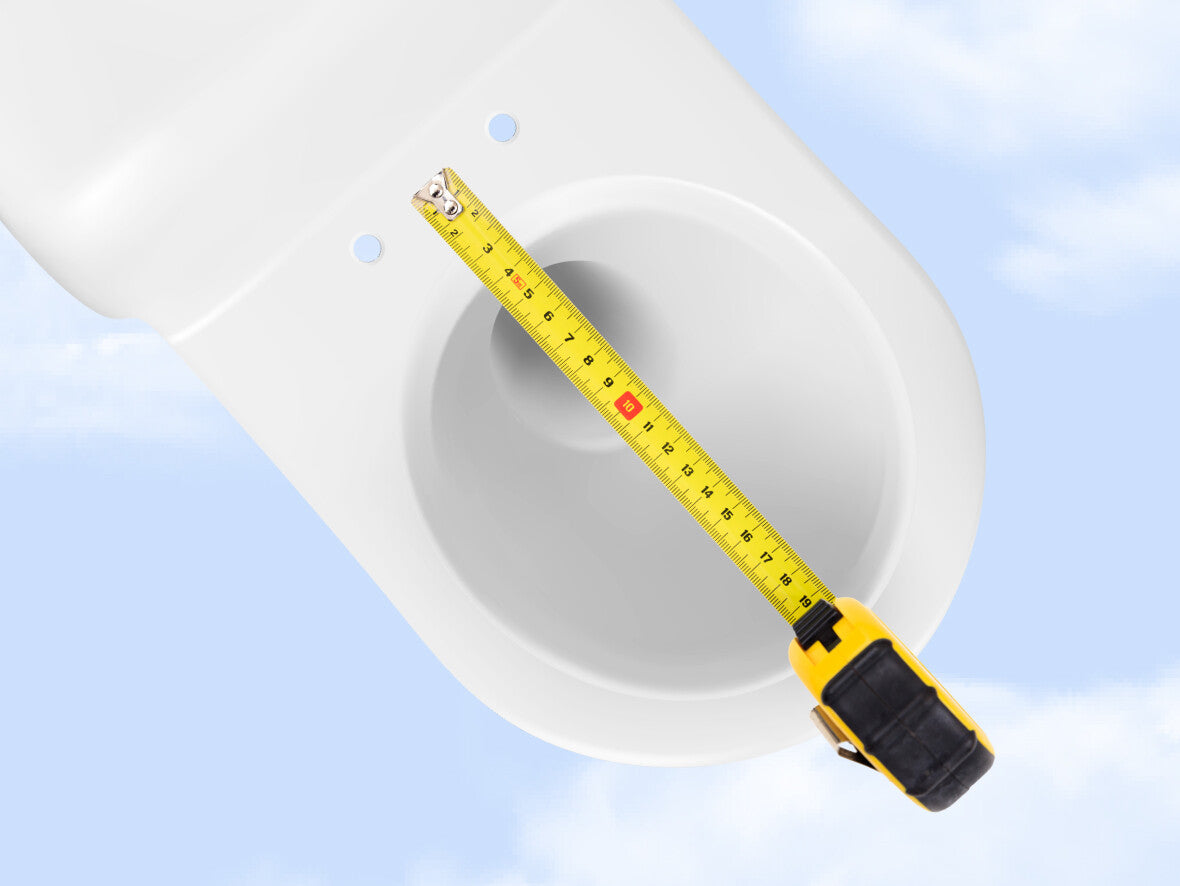
Identify your toilet type and bowl shape to ensure the bidet you order actually fits your throne. Every respectable bidet brand should have a compatibility list to help you out.
Electrical Check

If you’re installing an electric bidet seat, your toilet must have access to an outlet. We recommend a GFCI (ground fault circuit interrupter) which cuts off the electricity in case you ever experience a short.
What You’ll Need
Tools (not included with your bidet)
- Screwdrivers (flathead or Phillips-head depending on your toilet seat screws)
- Towels for knee padding and to mop up any spills
- A bowl to catch any residual water in hoseline
Materials (included with your bidet)
- Bidet Seat or Attachment
- Mounting Base Plate, Brackets, and Bolts
- Rubber Inserts
- Tank Adapter
- Flexible Hoseline
- Batteries (if your bidet is remote control operated)
- Power Cord (if you have an electric bidet rather than a non-electric bidet)
Before Installing Your Bidet
- De-water. Turn your toilet’s water supply valve off at the base of the tank. Then hold down the flusher to drain the bowl as much as possible. You might still have an inch or less of residual water, which is perfectly fine.
- De-seat. Remove your toilet seat. You may need to flip the screw caps to access the mounting hardware. Unscrew and set aside.
- De-gunk. Your throne will never be this exposed again! Take advantage and deep clean all those hard to reach places.
- De-pants. Just kidding. Don’t drop your drawers just yet.
How To Install a Bidet Toilet Seat
Step 1: Connect The Hoseline To The Toilet

Once the water is off and the toilet seat is removed, disconnect your existing flexible hose from your toilet tank. Turn it clockwise (if you’re looking at the hose from above) and be prepared to catch or wipe up some residual water that might spill onto the floor. Don’t freak, it’s clean.
Locate the tank adapter in your bidet seat kit. Screw the existing hose you just disconnected to the bottom of this adapter. Then screw the top of the adapter onto the toilet tank. Be careful not to cross-thread or overtighten—finger tight is perfect.
Screw the flexible hose that came with your bidet to the tank adapter’s side connection. Again, be careful not to overtighten.
WARNING: Connect to cold water line only (not the hot water line).
If you don’t have access to the tank connection, you will need a valve adapter for installation at the shutoff valve at the wall or the sink instead.
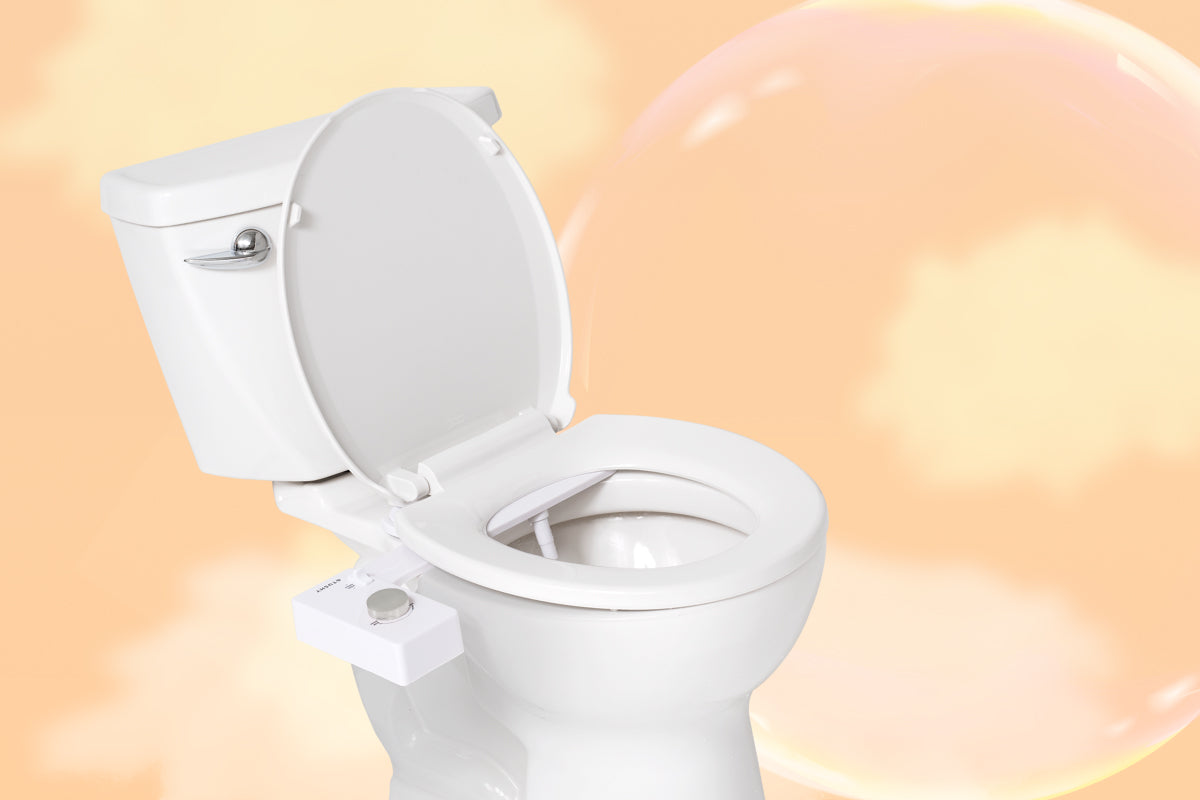
Step 2: Attach Your Bidet To The Bowl

See those naked toilet bolt holes toward the back of your bowl? You likely received some rubber inserts with your bidet seat that are meant to slide inside them, until they are nearly flush with the toilet rim.
Once these inserts are in place, you’ll position the included bidet seat base plate over the toilet bolt holes, making sure it is centered and straight. If your base plate has a rubber or non-stick side, be sure that side is facing down, not up.
Align the back of the base plate with the tank, leaving a gap of at least 3/4” or the thickness of your thumb.
Now align your bidet seat with the base plate you just mounted––it will likely slide and click into space.
Step 3: Connect and Leak-Check the Water Line

Now that your bidet seat is mounted, you can take the open end of the flexible hose attached to the tank adapter and screw it onto the inlet port of your bidet. Take care not to cross-thread or overtighten—finger tight is perfect.
Turn on your water shutoff valve and check all connection points to make sure there are no visible leaks.
Notice the hose only turning once before stopping? It might be cross-threading and not sealed properly. Unscrew the hose and re-attach until the threads line up properly. You may need to use thread tape for a perfect, leak-free fit.
Step 4: Plug In, Sit Down and Butt Test

Once the connections are leak-free and the area around you is dry, plug your bidet seat into a GFCI (ground fault circuit interrupter) outlet. If your outlet is out of reach, find a 3-prong, grounded extension cord here.
If you have a 2-prong outlet, purchase a grounding converter from a local hardware store. The grounding converter should be used only until a properly grounded outlet can be installed by a qualified electrician.
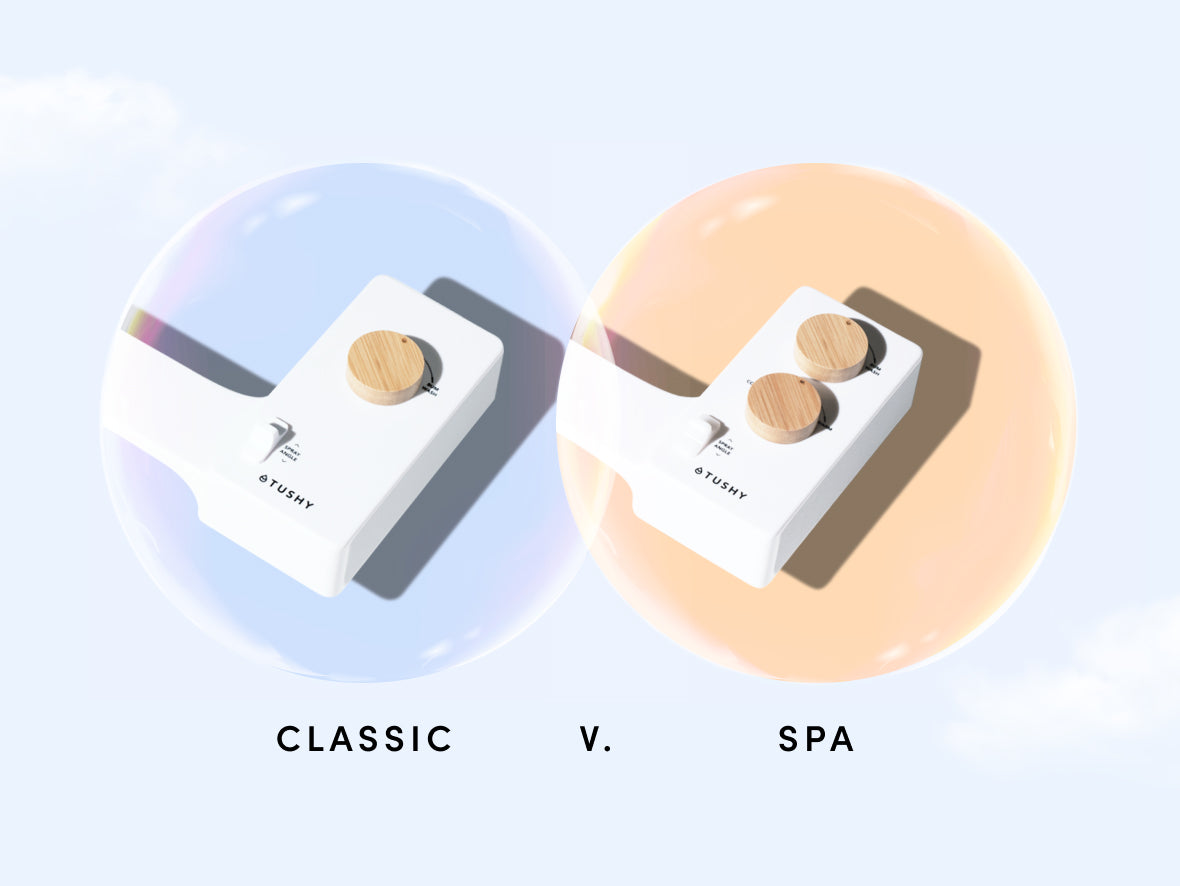
Once everything is plugged in, you can have a seat and start playing with all the bells and whistles, which likely include a remote control, seat warmer, and bum dryer.
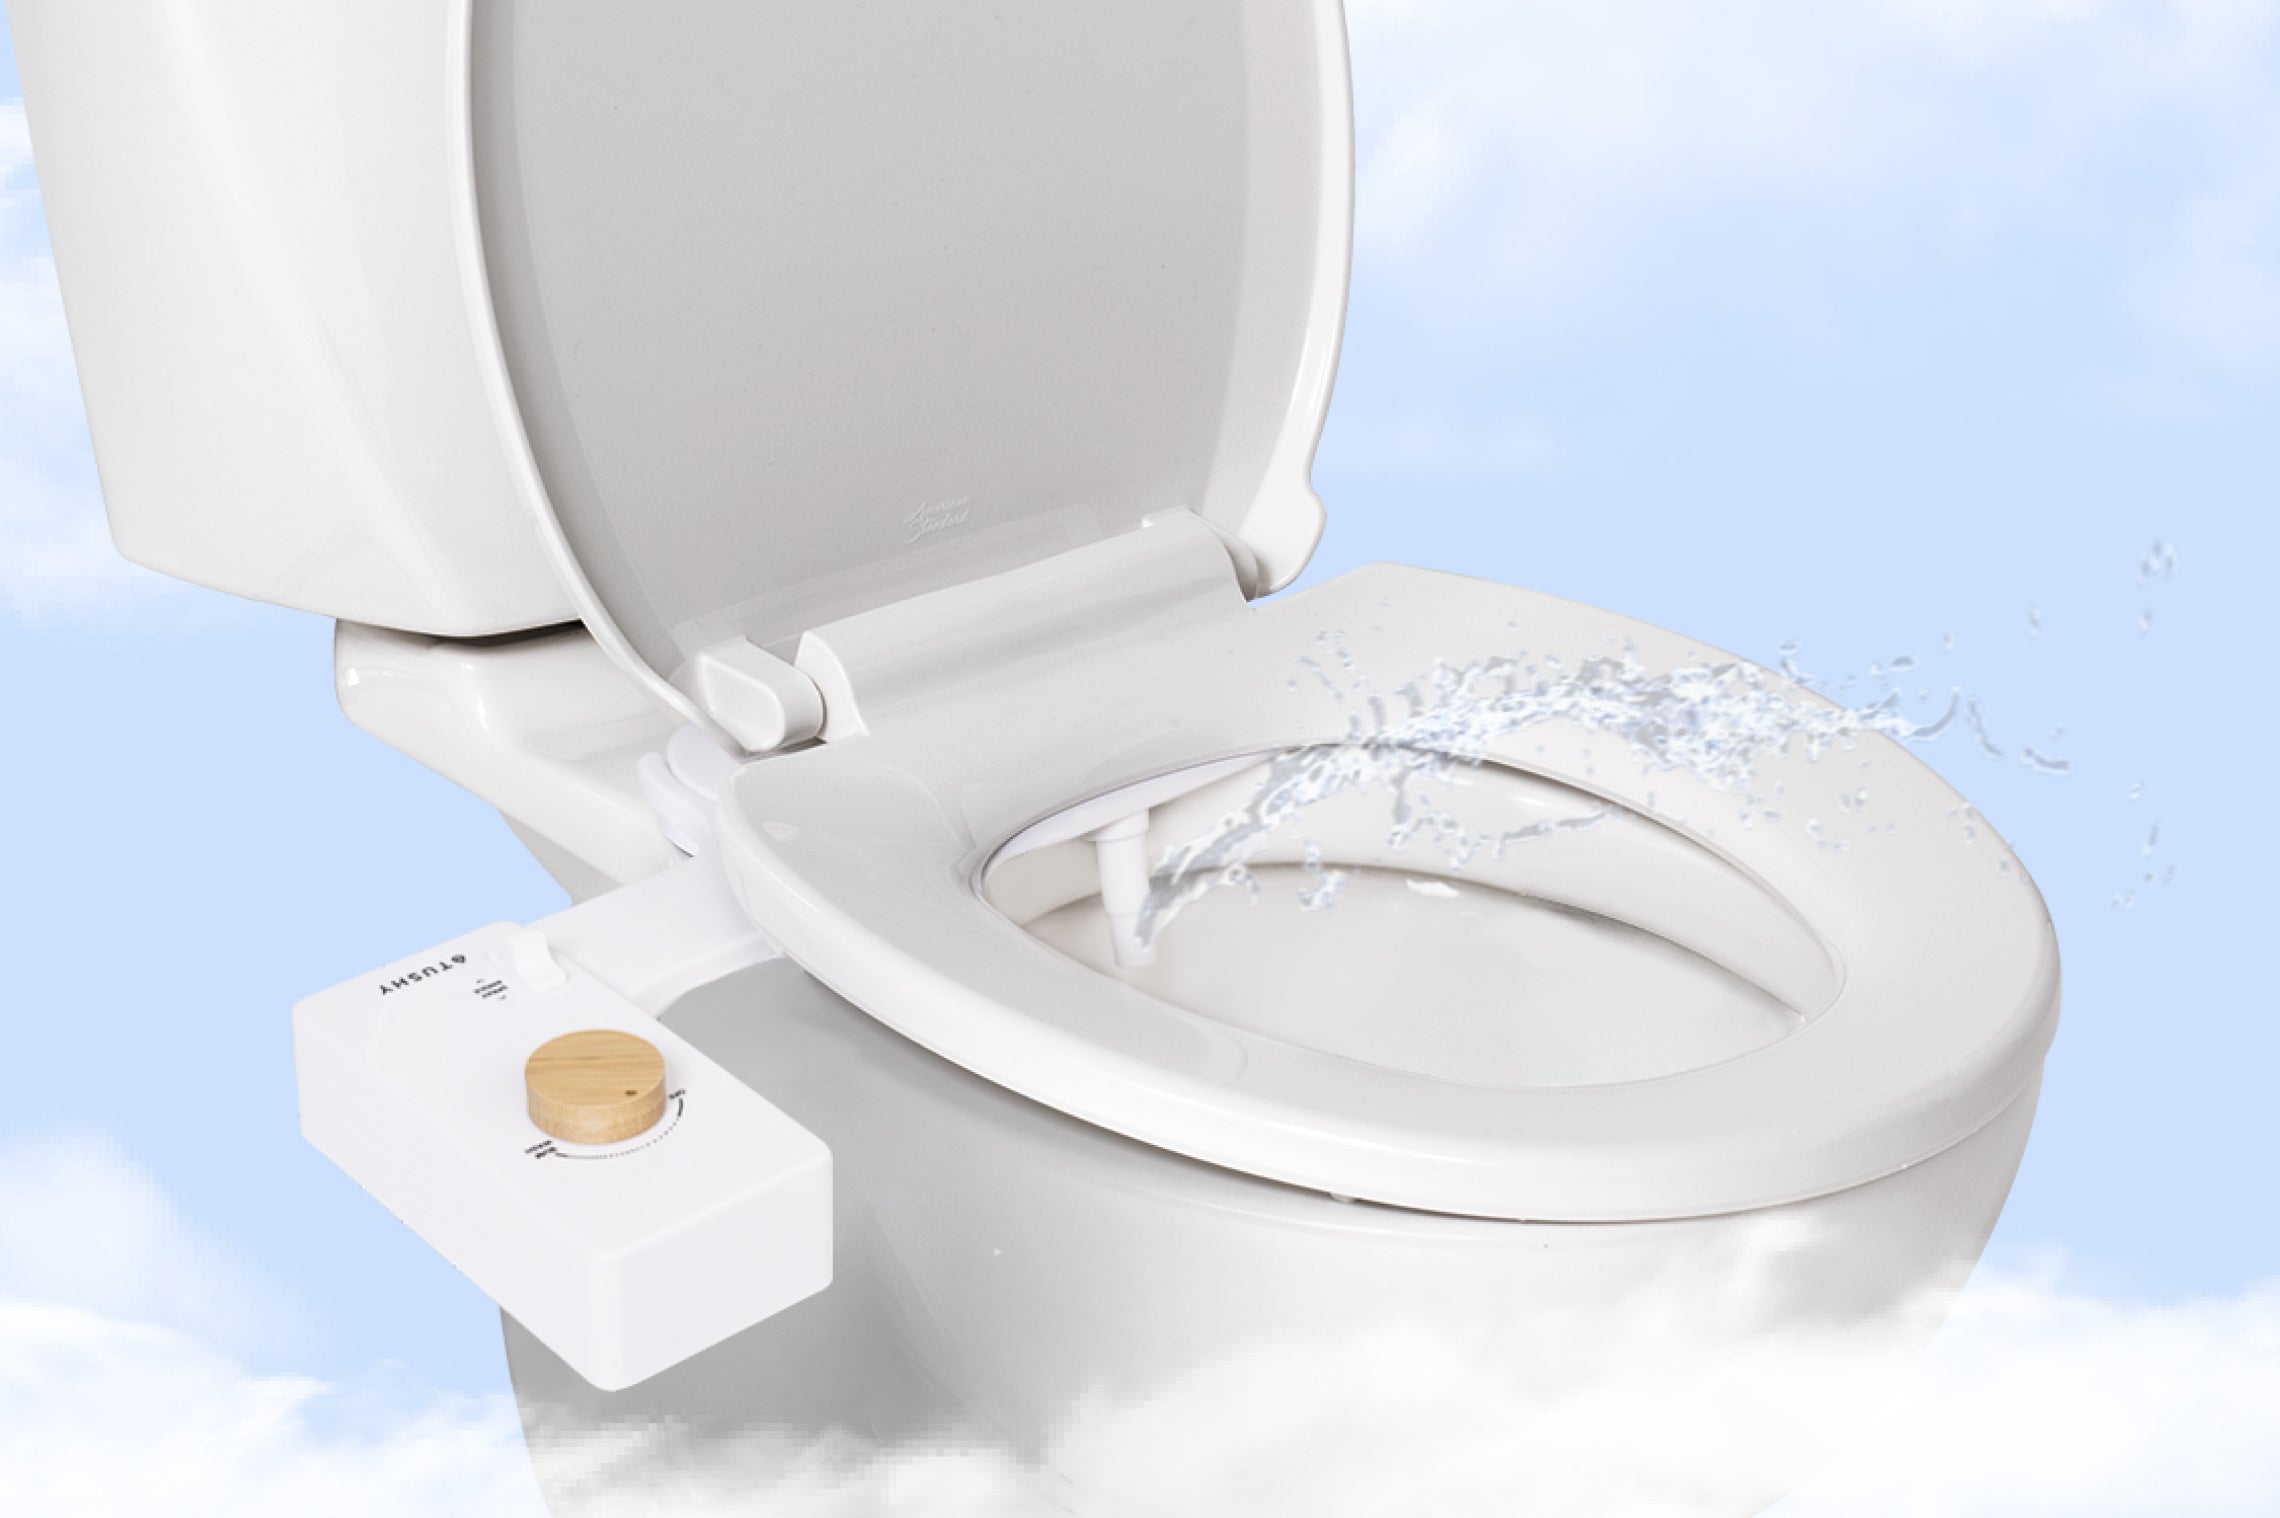
DO NOT SPRAY UNTIL YOU SIT DOWN or water will spout across your bathroom like a scene outta Free Willy.
How To Install a Bidet Attachment
Step 1: Connect The Hoseline To The Toilet
Once the water is off and the toilet seat is removed, disconnect your existing flexible hose from your toilet tank. Turn it clockwise (if you’re looking at the hose from above) and be prepared to catch or wipe up some residual water that might spill onto the floor. Don’t freak, it’s clean.
Locate the tank adapter in your bidet attachment kit. Screw the existing hose you just disconnected to the side of this adapter. Then screw the top of the adapter onto the toilet tank. Be careful not to cross-thread or overtighten—finger tight is perfect.
Screw the provided flexible hose that came with your bidet to the tank adapter’s bottom connection. Again, be careful not to overtighten.
GOT A WARM WATER BIDET ATTACHMENT? In addition to connecting hoseline to your toilet, you will run an additional hoseline to your sink water hookups to access warm water.
Step 2: Connect The Bidet To The Hoseline

Now attach the same flexible steel hose to the water port on your bidet attachment console. Twist gently––you should turn counterclockwise to finger-tighten but again, all bidet attachments are different.
Notice the hose only turning once before stopping? It might be cross-threading and not sealed properly. Unscrew the hose and re-attach until the threads line up properly. You may need to use thread tape for a perfect, leak-free fit.
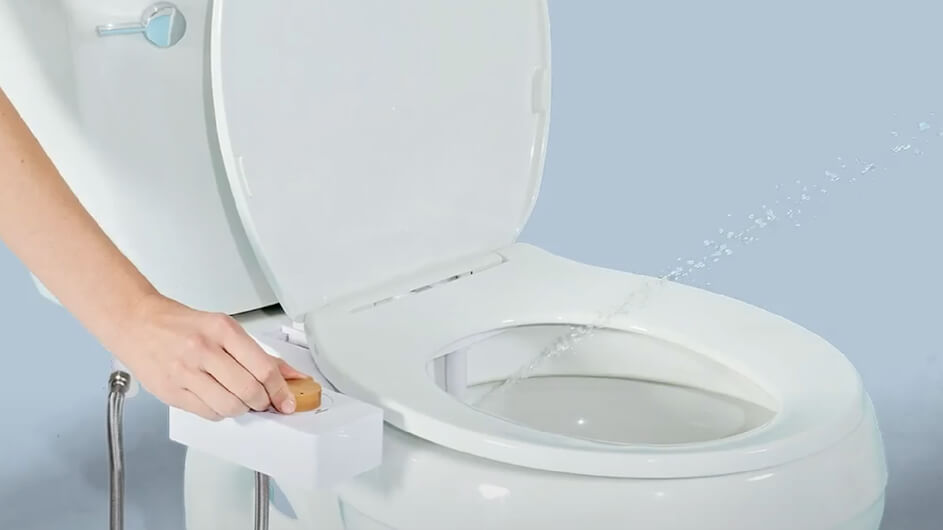
Step 3: Attach Your Bidet To The Bowl

Time to lock that sh*t down. Place your affordable bidet attachment on top of your toilet. Depending on the bidet design, you likely have adjustable flanges. Line those up with the holes in between the bowl and the tank used for mounting the toilet seat.
Make sure the nozzle is lined up in the center of the bowl and as close to the back
rim of the bowl without the nozzle touching it. The nozzle needs enough breathing room for angle range while also having enough depth for booty alignment. You can figure out how much space you need by moving the nozzle adjuster back and forth via the bidet console.
Step 4: Reattach Your Toilet Seat

Fasten your toilet seat on top of the bidet attachment by threading the toilet
seat bolts through the adjustable flanges and through the toilet’s mounting holes. Fasten the bolts by turning them clockwise.
Hold the underside of the toilet nuts to tighten the bolt from the top more effectively.
Step 5: Leak-Check and Butt Test
Turn on your water shutoff valve and check all connection points to make sure there are no visible leaks. If you’re leak-free, you are good to go! If you are experiencing leaks, first make sure the rubber gasket is placed correctly inside of the adapter. Second, make sure the threads are aligned properly. Third, make sure the hoses and adapters are tightened completely, but remember don’t over-tighten!
DO NOT SPRAY UNTIL YOU SIT DOWN. All bidets need a target and unless your butt is in the hot seat, your bathroom wall is the target.
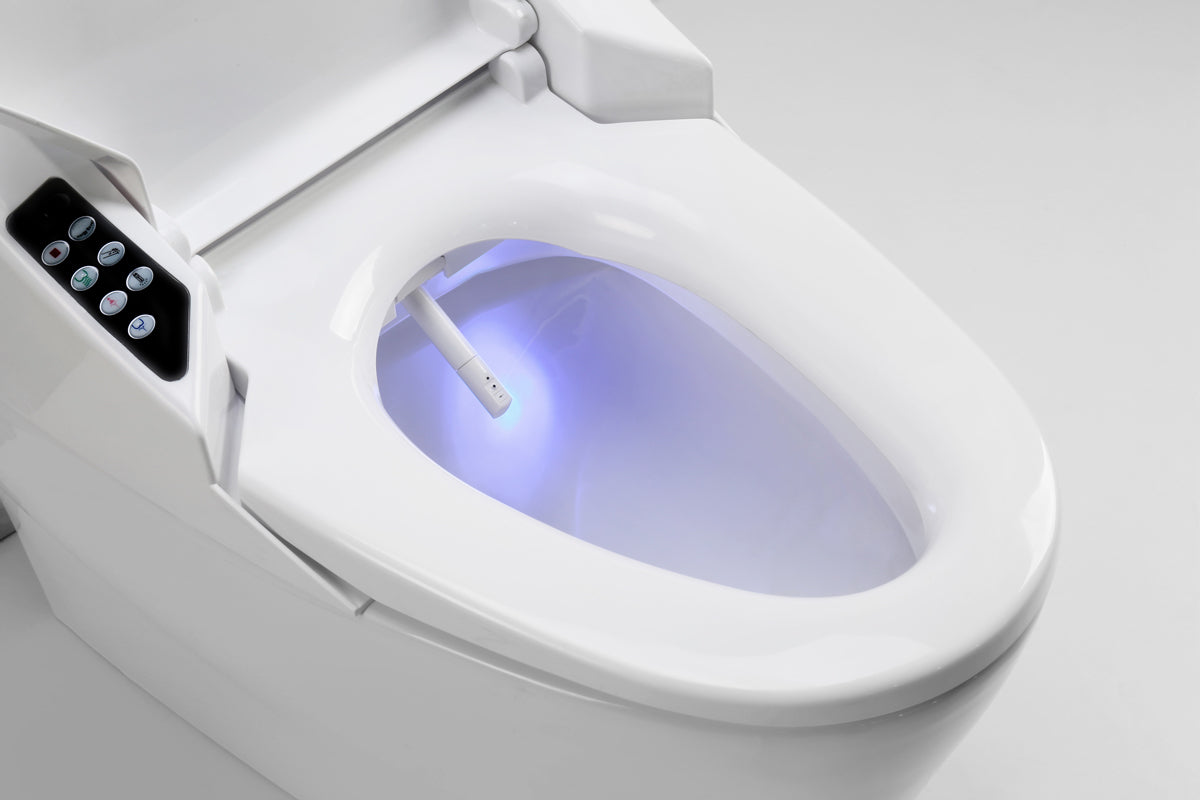
Start Using Your Bidet!
Now that you know the basics to installing the best butt shower of your life, you can spend every waking moment sitting on it! Take care to turn the pressure knob very slowly to start, since household water pressures vary A LOT. We don’t want to blow your butthole into another dimension.
Play with the nozzle angling and arching your bottom to reap ALL the benefits of washing with a bidet. Spoiler: Bidets are hygienic and aren’t just for buttholes.
Ready to take the plunge into the cleanest booty of your life? Shop TUSHY’s easy to install bidet collections or check out our Bidet Buying Guide to learn more!
Frequently Asked Questions
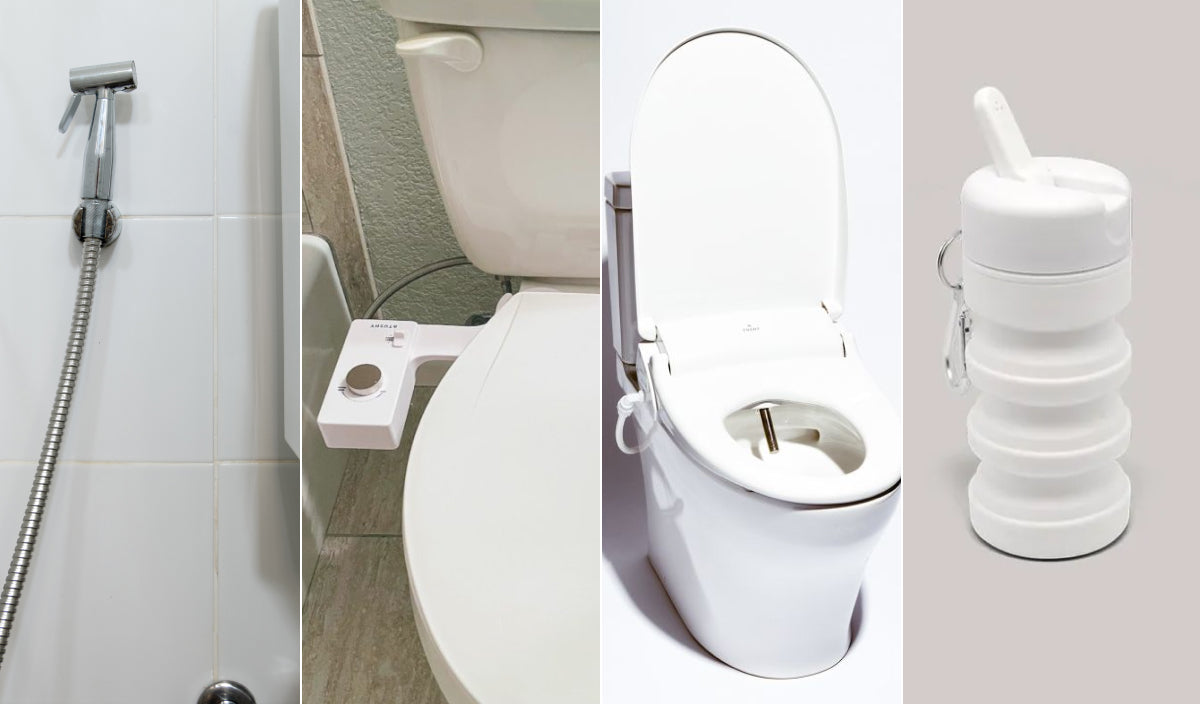
Can you install a bidet on any toilet?
Modern bidet seats and bidet attachments are designed to fit most standard “two-piece” toilets, which includes a bowl, a tank, and a flexible steel hose connection between the water supply and tank. You’ll know you have this toilet if all of the water supply connections are visible.
If you have a skirted toilet or a commercial “flushometer” toilet, you may need a special adaptor from your bidet company.
French curve toilets are generally no-gos with a bidet attachment because the curved shape of the bowl makes it difficult for a bidet to sit flat.
Do you need special plumbing for a bidet?
Nope! You do not need to plumb new lines to accommodate a bidet attachment.
Everything you need is already in your walls and in your bidet kit. The only small exception is if your toilet utilizes a rigid pipe water connection vs a flexible hose connection, which a quick trip to your local hardware store will solve.