Compare Bidets
FEATURES
Congrats on your TUSHY purchase! Every time you squeeze one out and spray with your TUSHY, know that you’re giving your bootyhole a superior clean that toilet paper can’t touch.


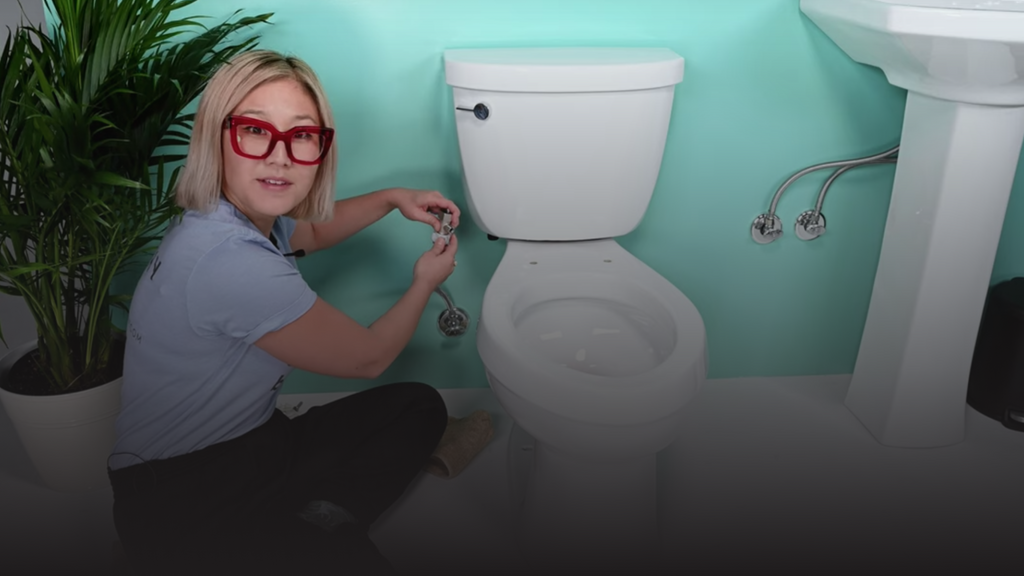
Install in less than 10 minutes with no plumber or electrician needed!


Remove toilet seat.
Connect TUSHY to clean water supply.
Place seat back & use knob to spray.
Prefer text instructions?
View the installation guide.Doing your business on a skirted toilet?
Watch the skirted toilet installation video. Get the Skirted Toilet Kit.

Just like taking a selfie, everyone has their angle. Adjust the stream for a precise clean.
Adjust the pressure based on your bum wash needs whether it’s a light booty rinse or a power wash.
Joins your toilet and TUSHY in truly clean and butt-holy matrimony.
Lowers when the TUSHY is in use and tucks away into its protected cocoon, keeping it safe and sanitary.

Register your TUSHY Classic 2.0 to secure your 1-year limited warranty and to get access to exclusive offers and deals!
If you’re not up for the easy installation, rely on a skilled Tasker to get your TUSHY properly set up and providing booty bliss in no time!